
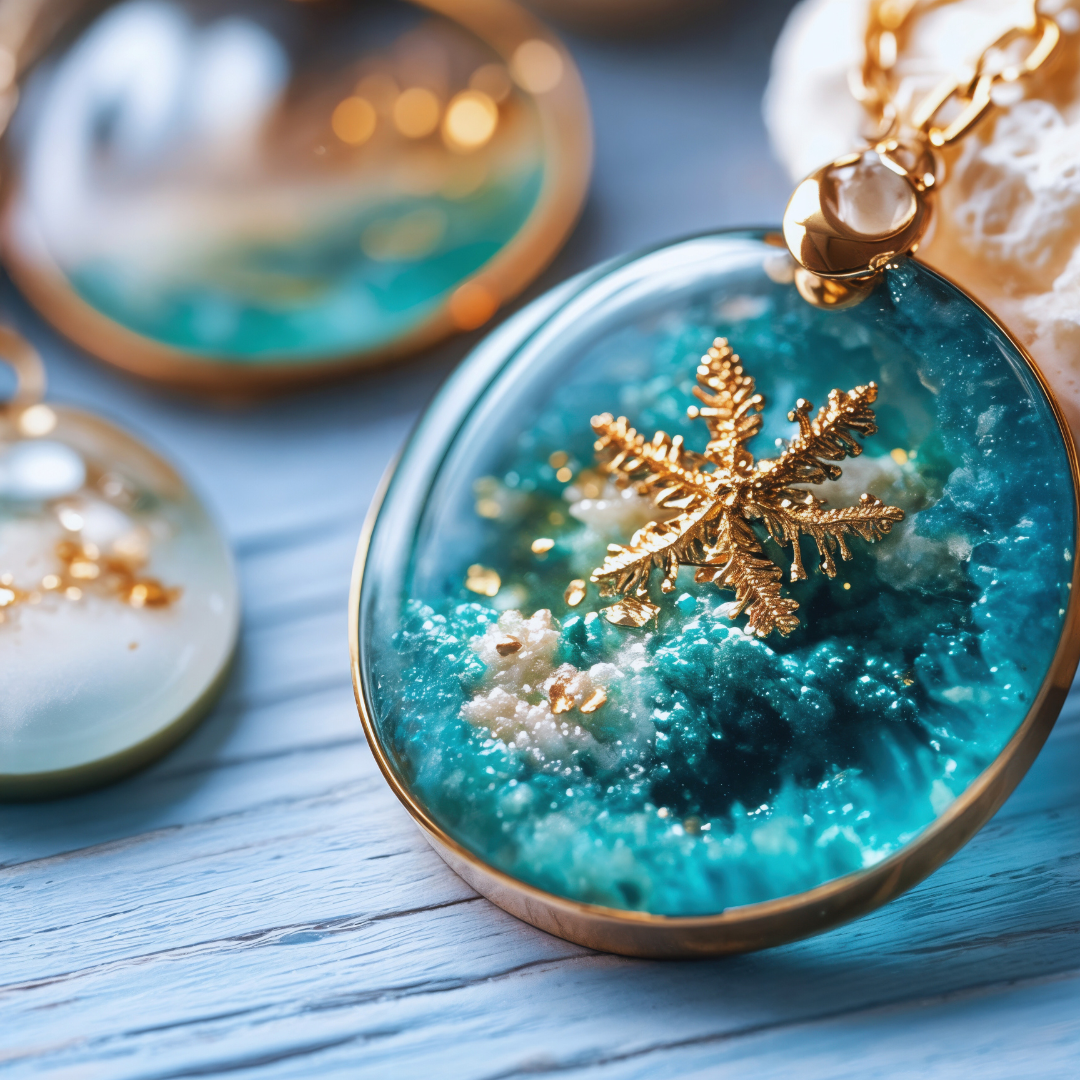
Sealing handmade resin jewelry is essential to protect it from scratches, UV damage, and moisture. The best way to seal resin jewelry is by applying a clear, durable topcoat like a UV-resistant resin spray or epoxy sealer. This creates a hard protective layer that enhances the piece’s longevity and shine.
Choosing the right sealant depends on your specific project and desired finish. Some sealants add gloss, while others preserve a matte look, but all provide a barrier that keeps your craftsmanship intact.
Proper sealing also prevents yellowing and helps maintain the vibrancy of embedded colors or inclusions. Understanding how to apply the sealant correctly ensures your handmade resin jewelry remains beautiful over time.
Essential Tools and Materials
Selecting the right resin and sealant is crucial for durability and appearance. Proper protective gear and an organized workspace improve safety and efficiency when sealing resin jewelry.
Types of Resin Suitable for Sealing
Epoxy resin is the most common choice for sealing handmade jewelry. It offers clarity, UV resistance, and cures to a hard, durable finish. It requires mixing two components—resin and hardener—and usually cures within 24 to 72 hours.
Polyurethane resin is less common but provides flexibility and impact resistance. It is not as clear as epoxy and has a stronger odor, so good ventilation is necessary.
Avoid polyester resin for sealing jewelry, as it tends to yellow and is brittle. UV resin cures quickly under light but may not be suitable for thick layers or heavy-duty sealing.
Best Sealants for Handmade Jewelry
Clear spray sealants based on acrylic or polyurethane are popular for quick, easy protection. They dry fast and add a smooth, protective coat that resists scratches and moisture.
For a stronger finish, brush-on polyurethane varnishes provide extra durability, though they require careful application to avoid streaks or bubbles. They also take longer to dry.
Wax sealants can add shine but offer minimal protection from water or impact. Choose sealants labeled specifically for resin or jewelry to ensure compatibility.
| Sealant Type | Benefits | Drawbacks |
| Acrylic Spray | Fast drying, easy to apply | Less durable over time |
| Polyurethane Varnish | Durable, hard finish | Longer drying time |
| Wax | Adds shine | Low protection |
Protective Gear and Workspace Setup
A well-ventilated workspace is essential due to fumes from resins and sealants. Work near an open window or use a fan to maintain airflow.
Wear nitrile gloves to protect skin from resin, which can cause irritation or allergic reactions. Safety glasses prevent accidental splashes from reaching the eyes.
Cover your workspace with disposable plastic or silicone mats to catch drips and protect surfaces. Keep tools like mixing sticks and brushes separate to avoid cross-contamination.
Use a respirator mask rated for organic vapors if you work with large quantities or in less-ventilated areas. Proper lighting helps you apply sealants evenly and spot imperfections early.
Preparing Resin Jewelry for Sealing
Proper preparation of resin jewelry is crucial to ensure the sealant adheres well and performs effectively. This process involves cleaning to remove residues, inspecting for imperfections, and finishing edges for a smooth feel.
Cleaning and Surface Preparation
Start by removing any dust, oils, or fingerprints from the resin surface. Use a lint-free cloth slightly dampened with isopropyl alcohol to wipe the piece gently. Avoid soaking or harsh scrubbing, which can damage the resin.
If there are any mold release agents or leftover resin flash, clean them off carefully with a soft brush or cloth. Ensure the jewelry is completely dry before sealing to prevent moisture trapping beneath the sealant.
Inspecting for Flaws
Examine the resin jewelry under bright light and from multiple angles. Look for bubbles, cracks, or uneven surfaces that may affect the final finish. Minor imperfections will show clearly once sealed.
Mark areas needing touch-ups or sanding. Addressing these flaws before sealing improves durability and aesthetic quality. Take time with inspection to avoid sealing mistakes that are difficult to correct later.
Sanding and Smoothing Edges
Use fine-grit sandpaper (400–800 grit) to gently smooth rough edges or seam lines. Sand lightly in circular motions to avoid scratching the resin surface. For deeper imperfections, start with a coarser grit (220–320) and gradually work up to finer grits.
After sanding, wipe the piece clean with a damp cloth to remove dust. Proper edge finishing prevents sharp points that can chip the sealant and improves the overall feel of the jewelry.
Step-by-Step Sealing Process
Sealing resin jewelry requires careful application to protect the piece and enhance its shine. Proper drying times and multiple coats improve durability and prevent damage from wear and moisture.
Applying the First Coat of Sealant
Begin with a clean, dust-free jewelry surface. Use a small, soft brush or sponge applicator to apply a thin, even layer of sealant.
Avoid overloading the brush to prevent drips and pooling. Focus on complete coverage, especially on edges and crevices. Use sealants designed for resin, such as polyurethane or epoxy-based clear coats.
Light pressure ensures the sealant lies flat without disturbing delicate details. After application, leave the piece in a dust-free area to start curing.
Curing and Drying Techniques
Curing time depends on the sealant used; check the manufacturer’s instructions for specific ranges, typically 1-4 hours for tack-free properties.
Place jewelry on a flat, level surface in a well-ventilated space. Avoid direct sunlight or heat sources that might cause uneven curing or bubbles.
Maintain a controlled environment with low humidity to prevent cloudiness. Do not touch or move the piece during drying to avoid fingerprints or imperfections.
Allow for full cure times before handling, as premature contact can damage the sealant layer.
Applying Additional Coats for Durability
Once the first coat is fully cured, apply a second or third layer to build protection. Each additional coat should be thinner than the first to prevent buildup.
Wait at least 2-3 hours between layers to allow proper drying. Sand lightly with fine-grit sandpaper (600-800 grit) if the surface feels rough before applying the next coat.
Multiple coatings enhance scratch resistance and water protection, extending the jewelry’s lifespan. Final coats should be smooth, glossy, and fully cured before use.
Finishing and Polishing Techniques
Finishing handmade resin jewelry requires careful attention to surface quality and shine. Proper techniques help achieve a smooth, glossy appearance while eliminating dust and small imperfections that can detract from the piece’s clarity.
Buffing for Glossy Finish
Buffing is essential to bring out a high-gloss shine on resin jewelry. Use a soft cloth wheel or buffing pad attached to a rotary tool. Start with a low speed to avoid overheating the resin, which can cause cloudiness or damage.
Apply a fine polishing compound such as tripoli or jeweler’s rouge for the best results. Work in small, circular motions, evenly covering the entire surface. Avoid heavy pressure that might create swirl marks or scratches.
Finish by wiping the piece with a clean, lint-free cloth to remove any residual compound. This process enhances depth and clarity, making colors and inclusions inside the resin more vibrant.
Removing Dust and Imperfections
Small particles and surface flaws are common after curing the resin. Begin by gently sanding with very fine grit sandpaper (800 to 1500 grit), wet sanding when possible to reduce dust and minimize heat.
Inspect the piece under a bright light to spot any remaining imperfections. Use a soft brush or compressed air to clear away sanding debris thoroughly before polishing.
For stubborn dust or tiny surface bubbles, a light coating of resin or a clear sealer can be applied to fill in and smooth out these flaws. Allow full curing time before proceeding with buffing to ensure a pristine finish.
Common Mistakes to Avoid
Proper sealing of handmade resin jewelry requires attention to detail and precise technique. Mistakes in preparation or application can compromise durability and appearance.
Inadequate Surface Preparation
Failing to clean jewelry surfaces thoroughly before sealing is a primary issue. Dust, oils, or residues prevent sealants from adhering properly, leading to peeling or uneven coverage.
Sanding is often necessary to create a rough texture for better sealant grip. Skipping this step can cause the finish to flake off over time.
Moisture on the surface should be avoided. Using lint-free cloths and allowing pieces to dry fully reduces the risk of trapping water, which affects the sealant’s curing process.
Over-Applying Sealant
Applying too much sealant can cause bubbling, cloudiness, or an uneven finish. Thick, excessive layers take longer to dry and increase the chance of imperfections.
It’s better to use multiple thin coats. Allow each layer to dry completely before the next application. This method ensures a smooth and durable surface.
Excess sealant can also pool in crevices, creating unwanted buildup. Focus on light, controlled strokes for even distribution across the jewelry.
Caring for Sealed Resin Jewelry
Proper maintenance preserves the shine and durability of sealed resin jewelry. Attention to cleaning and storage will prevent damage and extend the life of your pieces.
Cleaning Tips
Use a soft, lint-free cloth to wipe resin jewelry gently. Avoid abrasive materials that can scratch the surface or wear down the sealant. For tougher dirt, dip the cloth in warm, soapy water, then wipe carefully.
Do not soak resin jewelry in water, as prolonged exposure can weaken the seal. Avoid harsh chemicals like alcohol, acetone, or jewelry cleaners, which may degrade the finish.
If necessary, use a mild soap solution and rinse quickly under cool water. Dry thoroughly with a soft cloth to prevent moisture from lingering on the surface.
Storage Recommendations
Store resin jewelry separately to prevent scratches from contact with metals or other hard materials. Use soft pouches or individual compartments in a jewelry box.
Keep pieces away from direct sunlight and heat sources, which can cause discoloration or warping over time. Maintain a cool, dry environment to avoid moisture buildup that might affect the seal.
Avoid placing heavy objects on resin jewelry to prevent deformation. Regularly check for cracks or chips and repair as needed to maintain the protective seal.
Creative Sealing Ideas for Unique Designs
Sealing resin jewelry offers opportunities to add color and texture, enhancing the piece beyond basic protection. Techniques range from using tinted sealants to embedding decorative materials, each affecting the final look and durability.
Using Colored Sealants
Colored sealants allow for adding subtle or bold hues to the resin surface without altering the original design beneath. They come in various types, including tinted epoxy, acrylic-based sealers, and UV-resistant sprays.
When applying, thin layers prevent obscuring details and maintain a smooth finish. Choose sealants with UV protection to avoid discoloration over time. Testing on a small sample helps match the color and opacity desired.
Colored sealants are especially useful for highlighting edges or creating gradient effects. They also add an extra layer of protection against scratches and moisture, which improves the jewelry’s longevity.
Incorporating Decorative Elements
Embedding decorative elements within the sealant adds texture and visual interest. Examples include fine glitter, mica powders, or tiny metallic flakes mixed into a clear sealant.
Apply these by mixing the chosen materials evenly through the final sealant coat, then spread thinly to prevent clumping. This technique works well for subtle sparkle or shimmer without compromising the smooth surface.
For more dimension, place small dried flowers, beads, or charms on the resin before sealing. Secure them with a clear sealing layer to protect and preserve their appearance. Layered sealing can keep decorative items suspended and safe from abrasion.